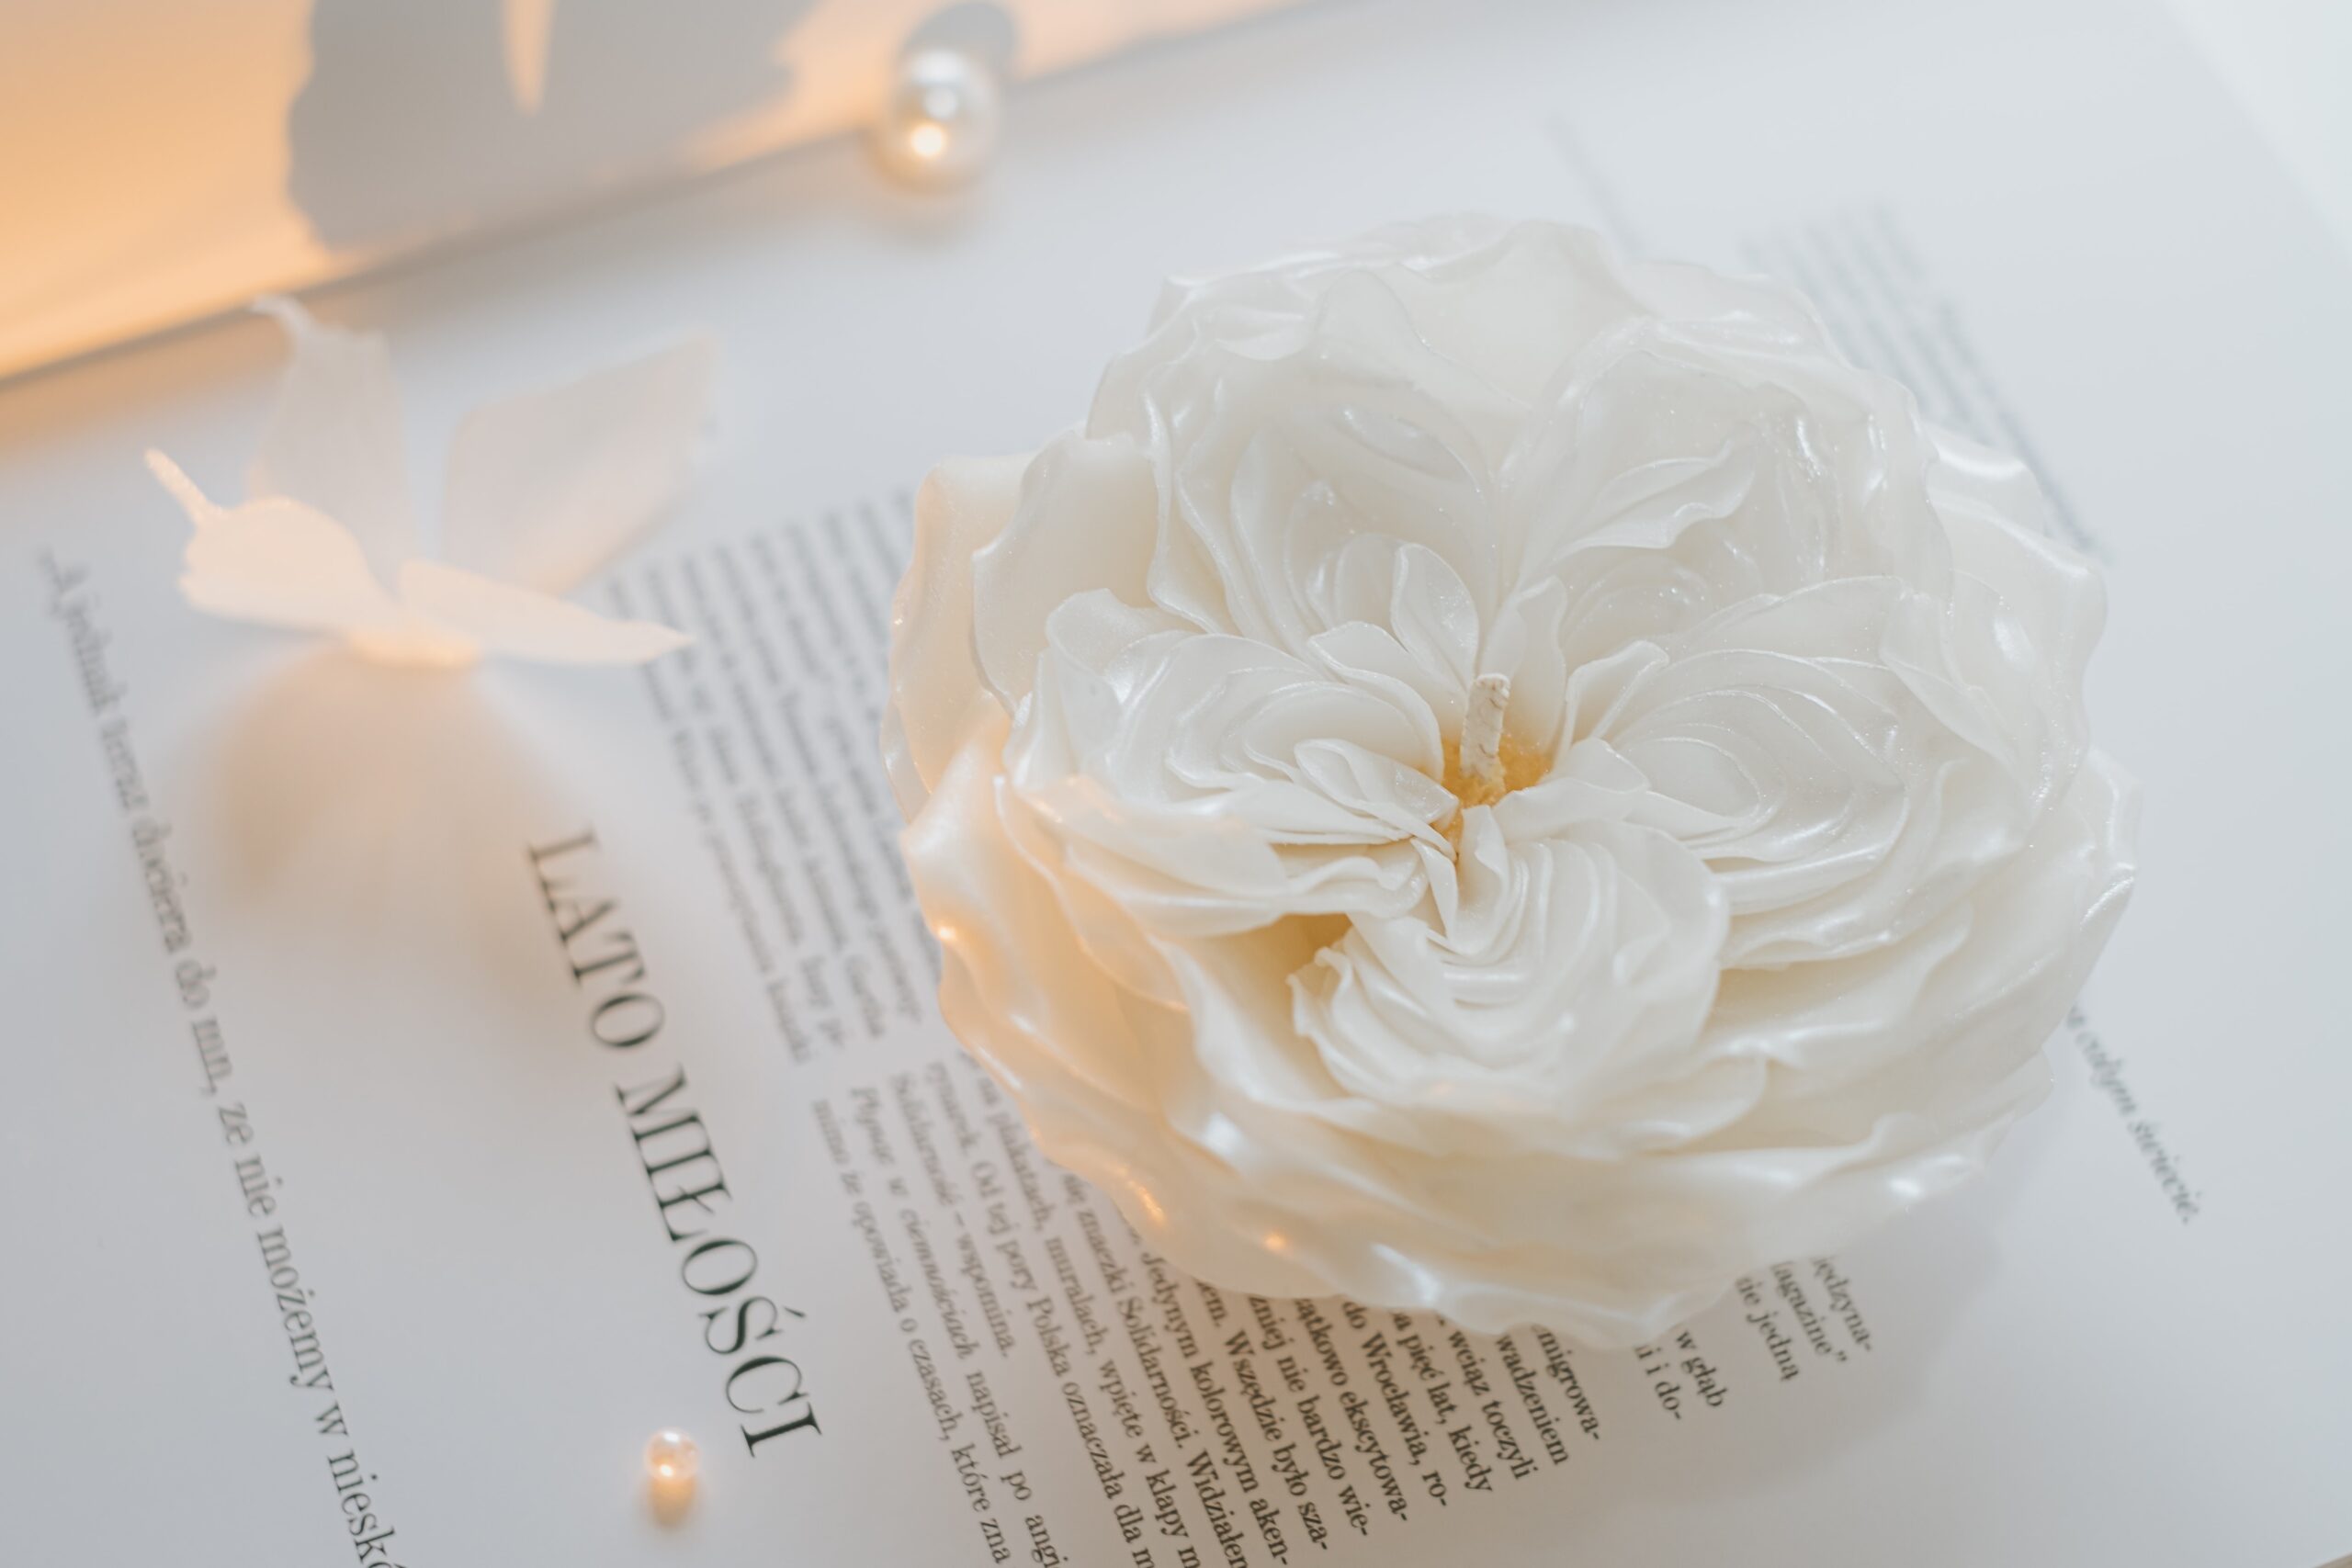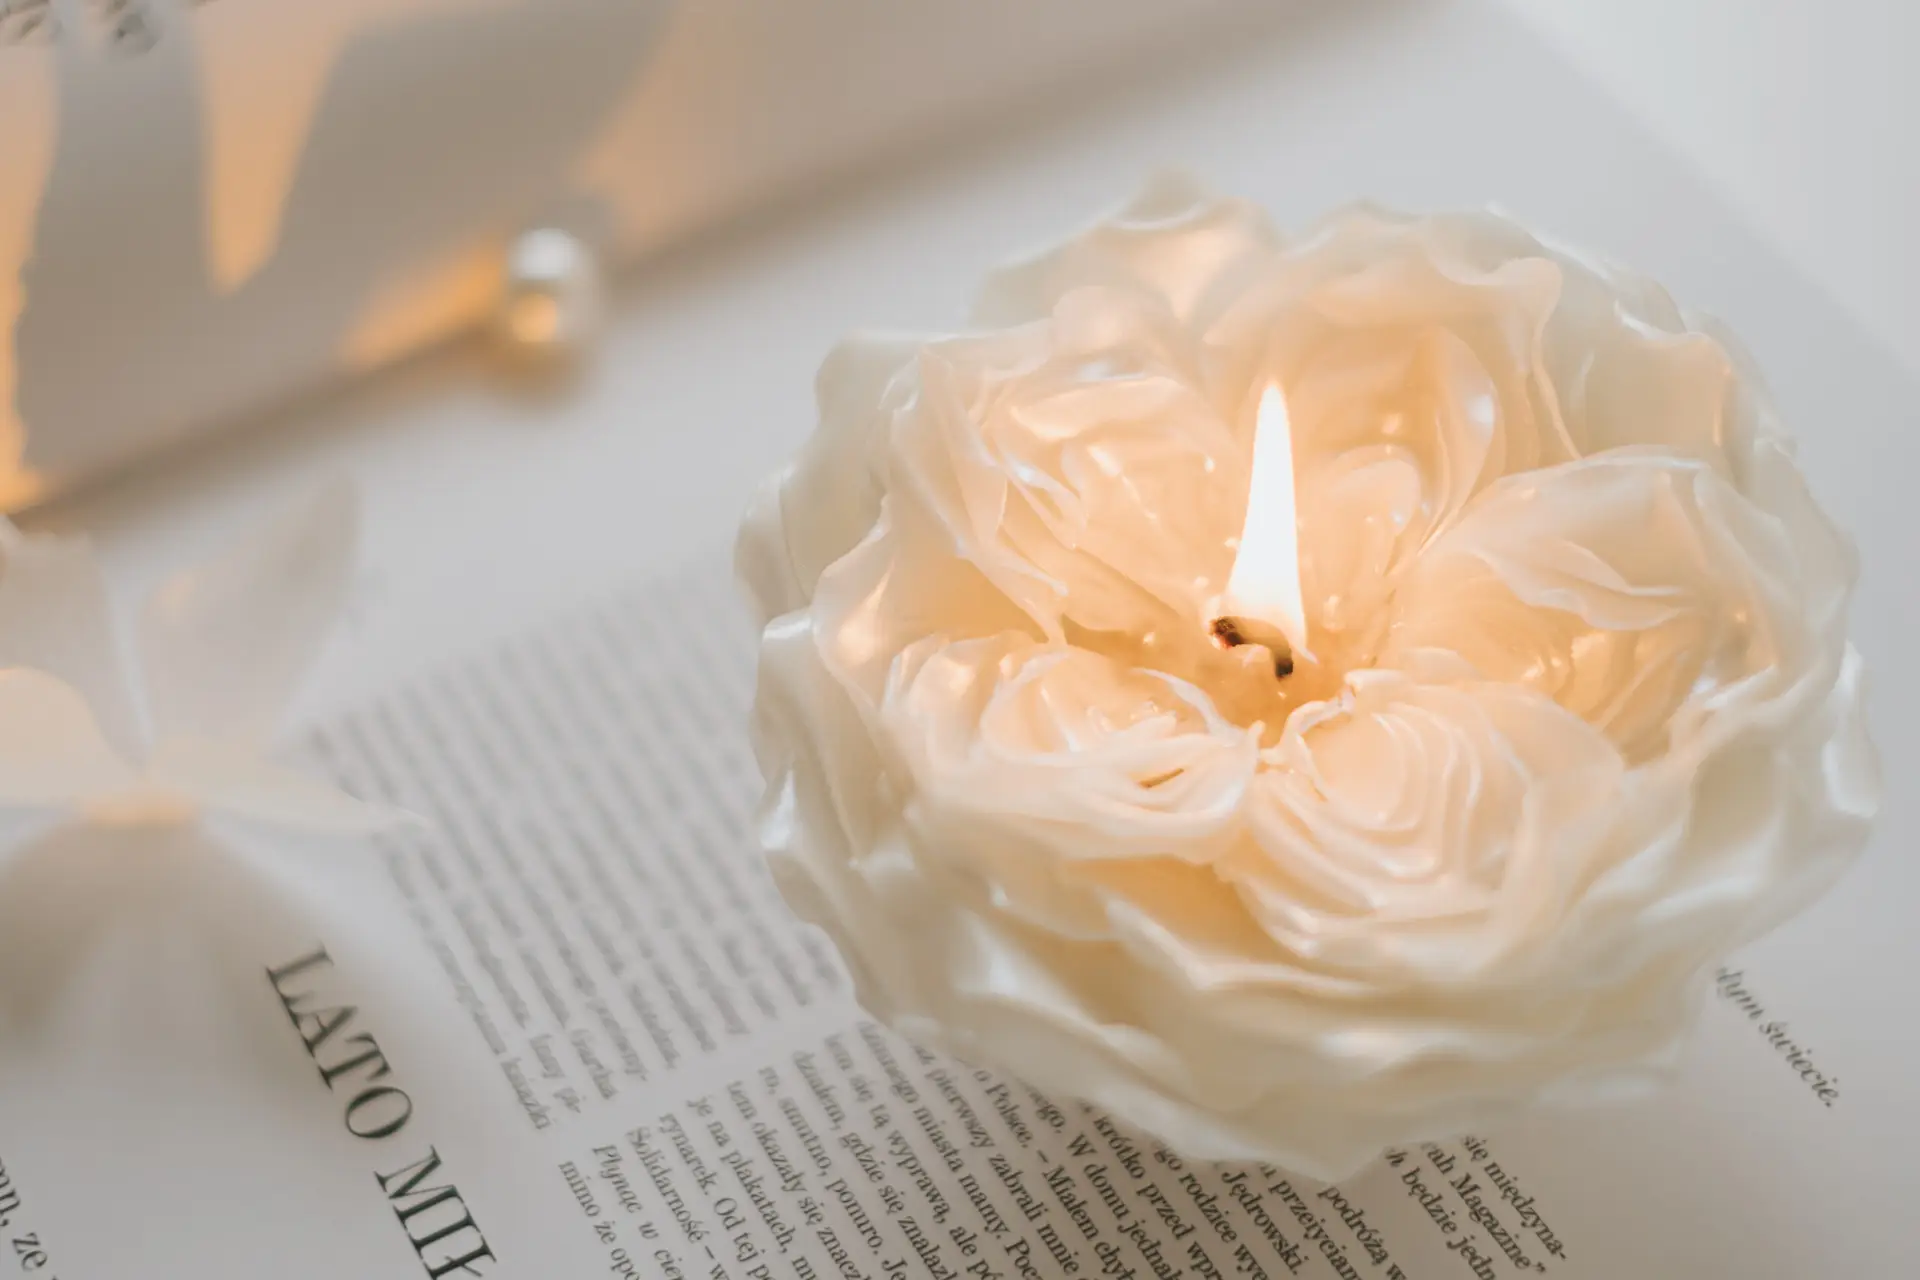
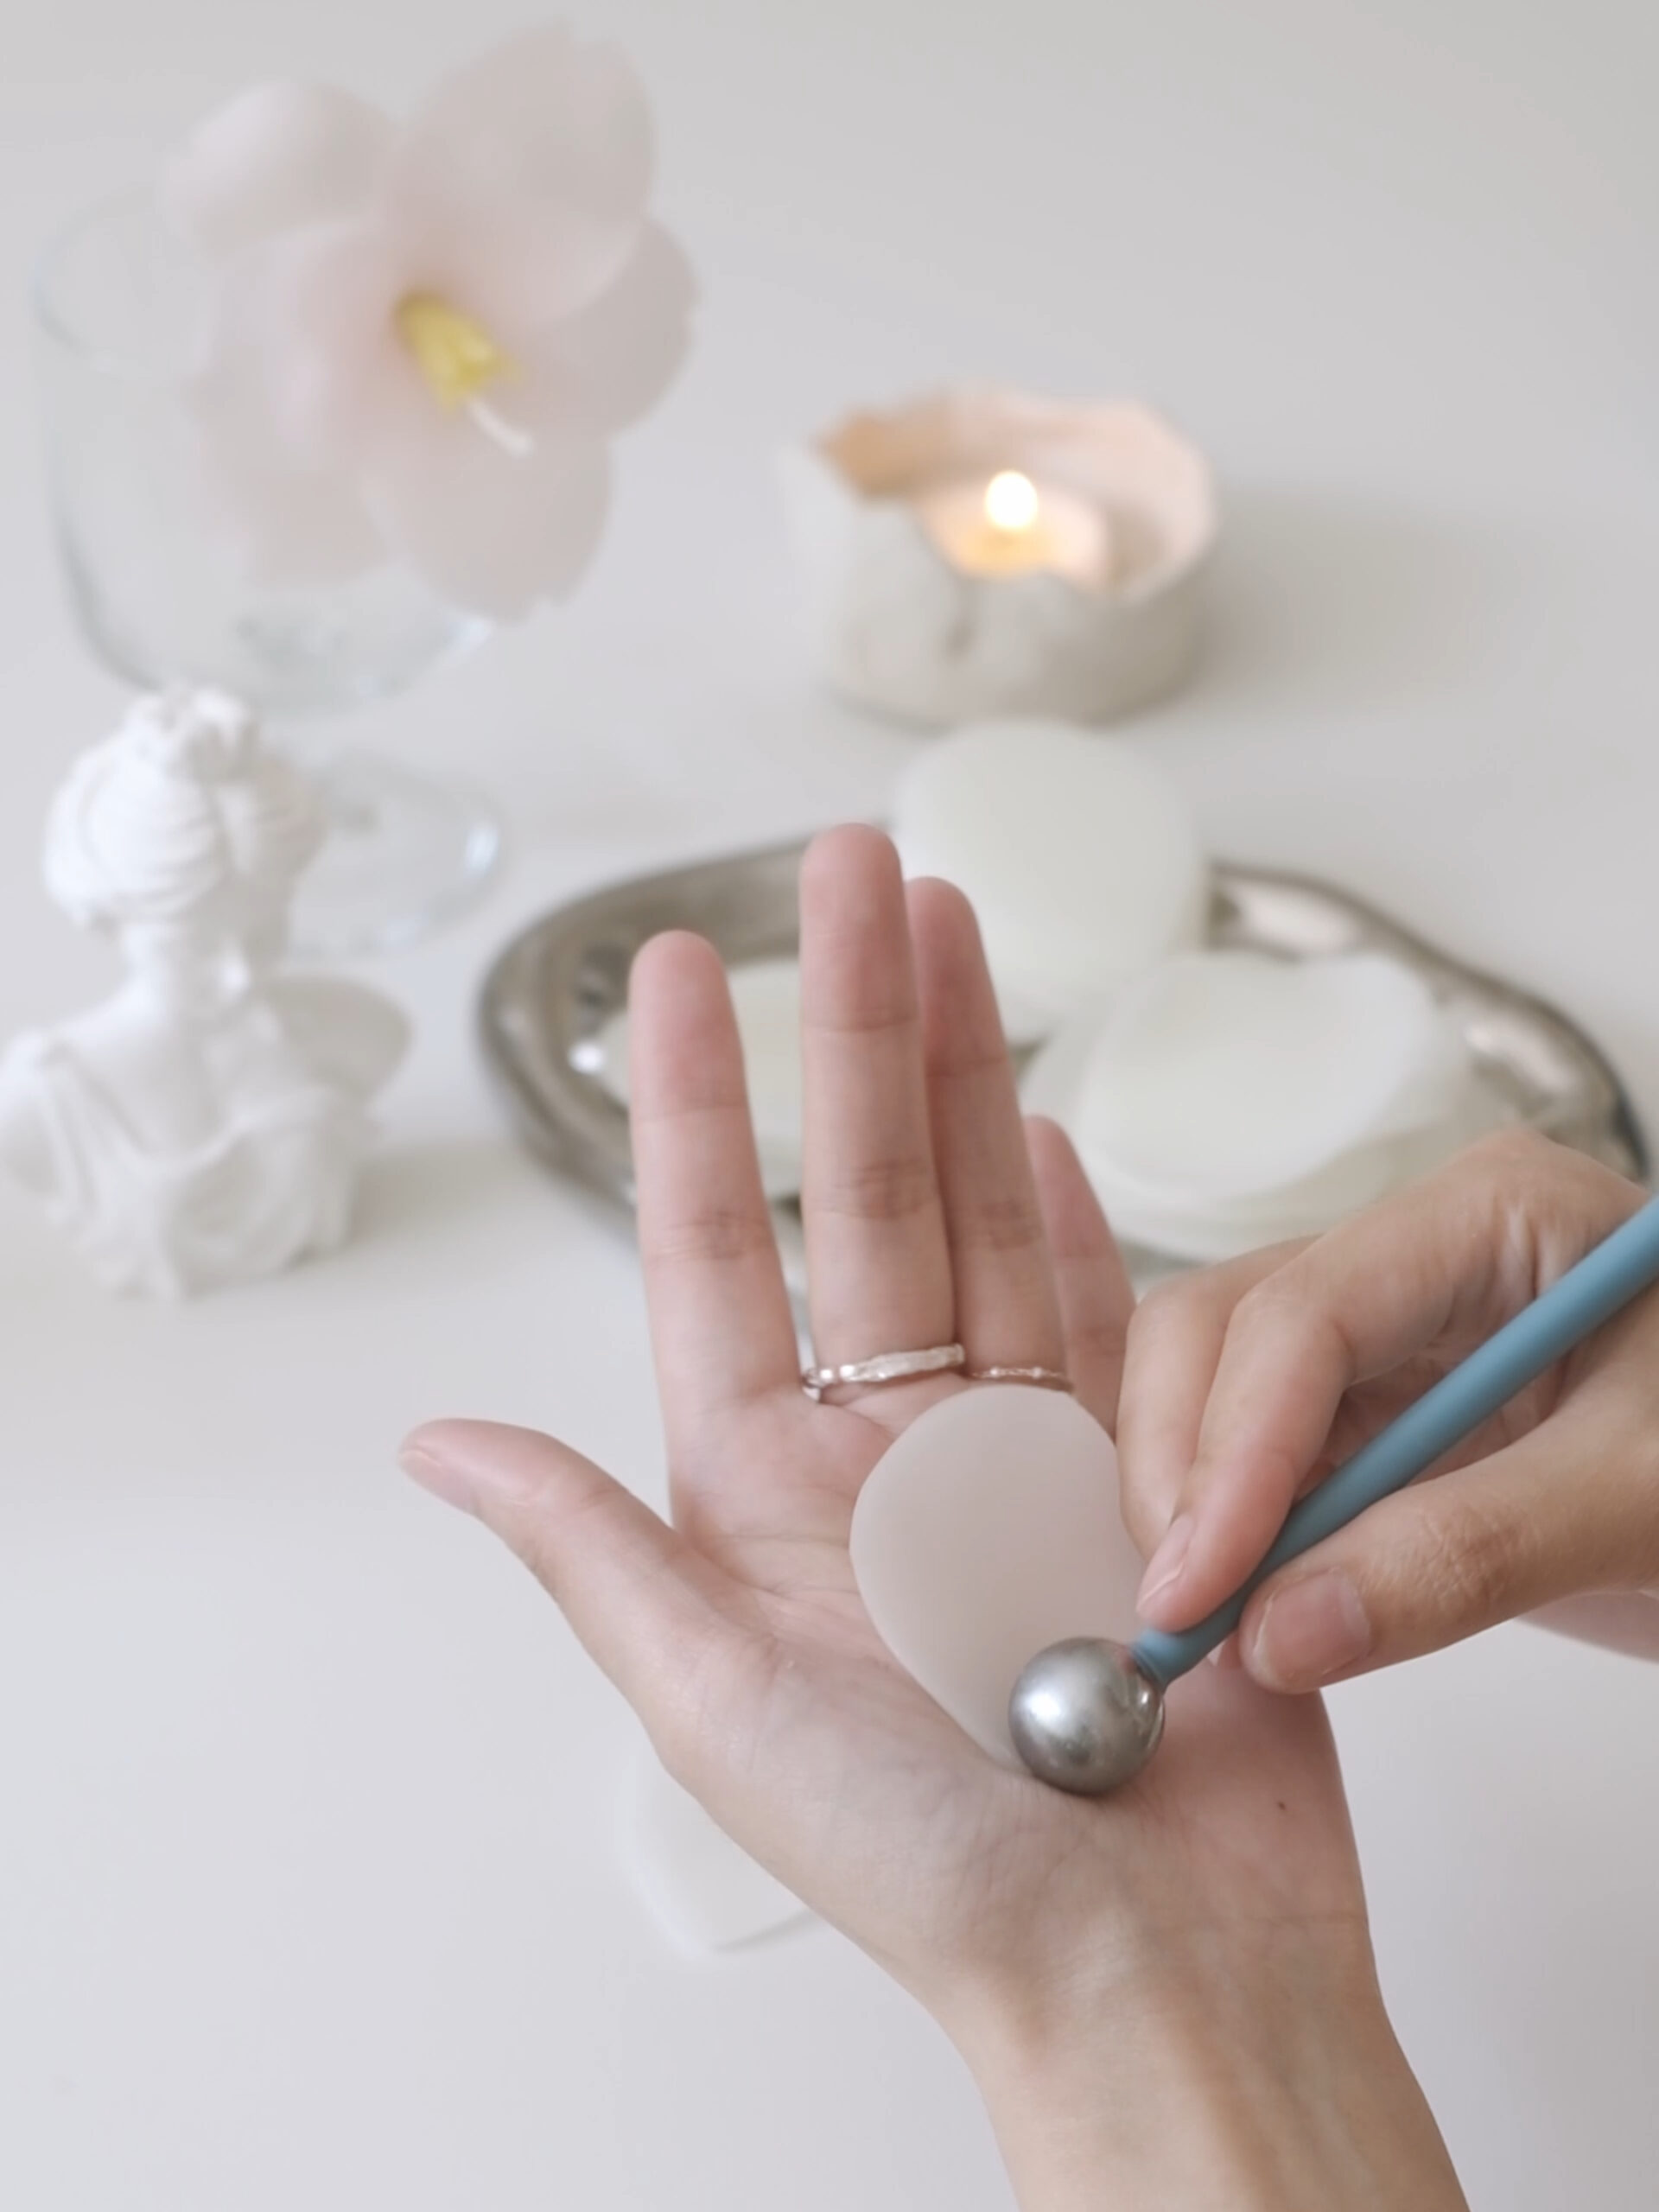
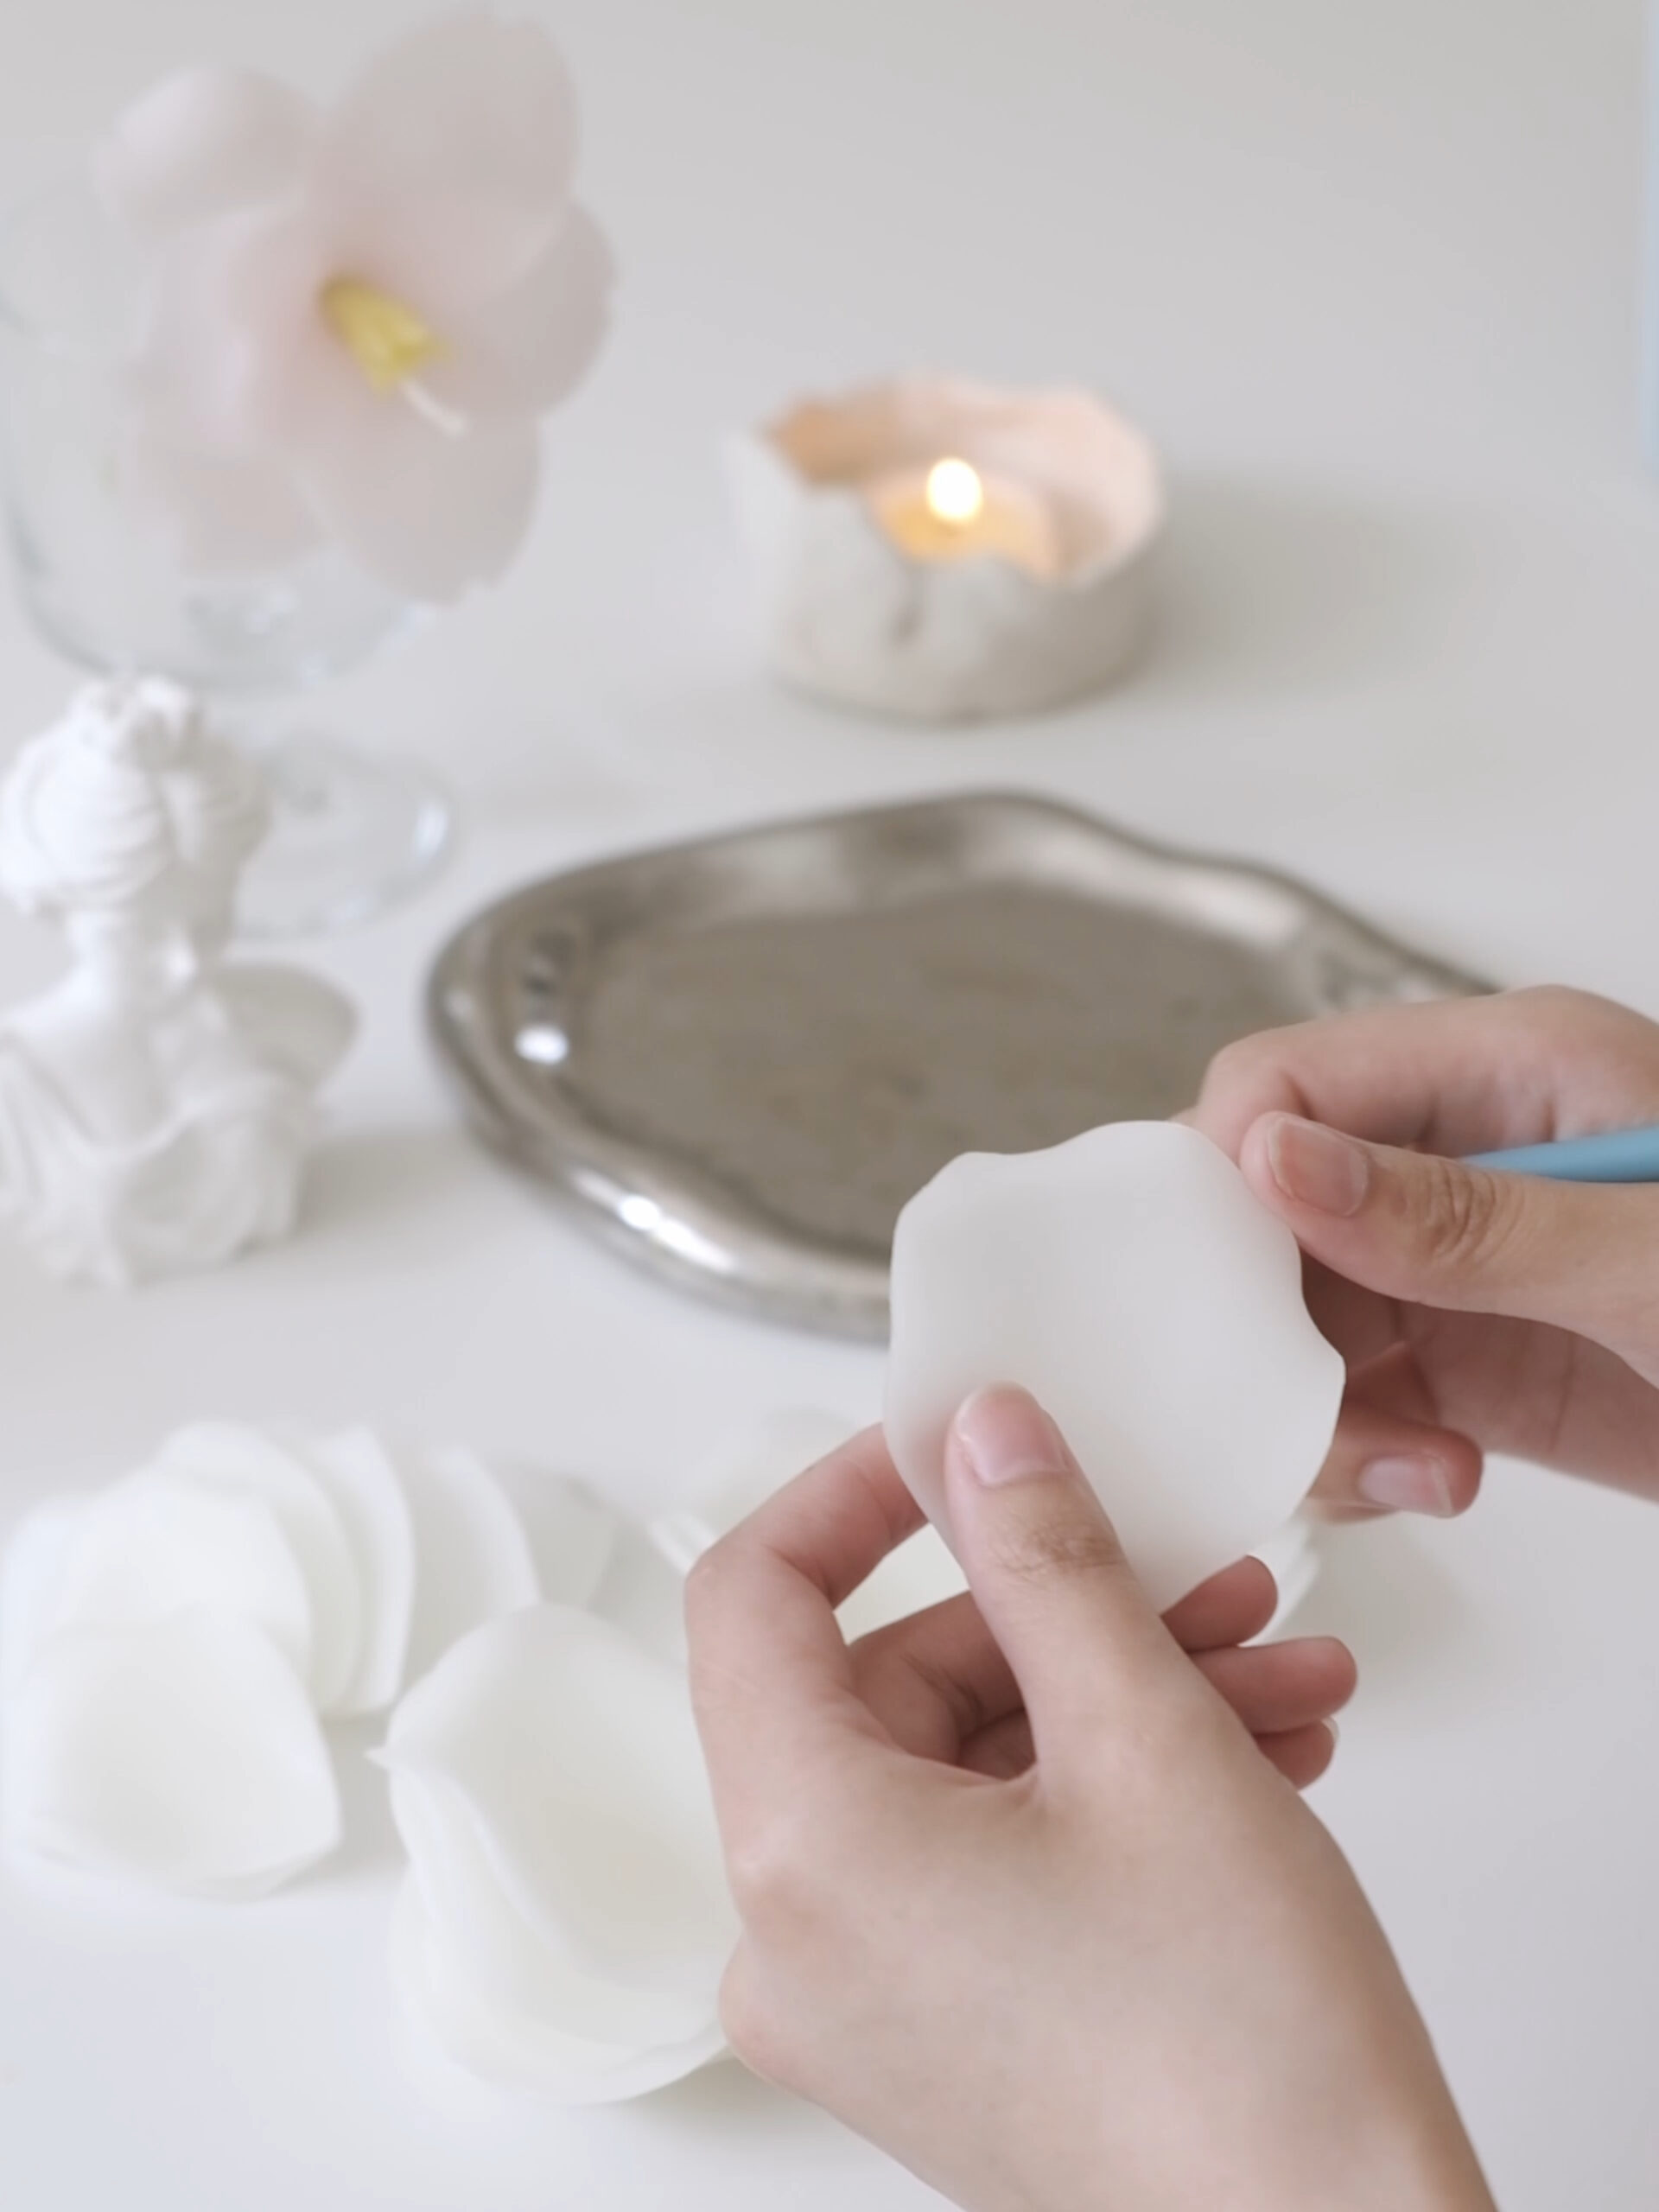
Allow the melted beeswax to cool to the ideal working temperature. Take small portions of beeswax and hand-form each petal one by one.
Start with the tiny inner petals around the flower center, then work outward to larger petals.Each petal requires careful thinning of the edges — the thinner the rim, the more graceful and natural the finished flower will appear.
Use melted beeswax as an adhesive to layer the petals from the center outwards. After placing each petal, adjust its opening angle to replicate the natural blooming posture of a real rose.
This process demands great patience. A moment of carelessness may warp the petals and cause all the work to be wasted.
Once all petals are assembled, manually adjust the full bloom, trim away excess beeswax, and balance the overall proportions.
It can be shaped into a tender bud or a fully open, vibrant blossom, each with its own unique character.
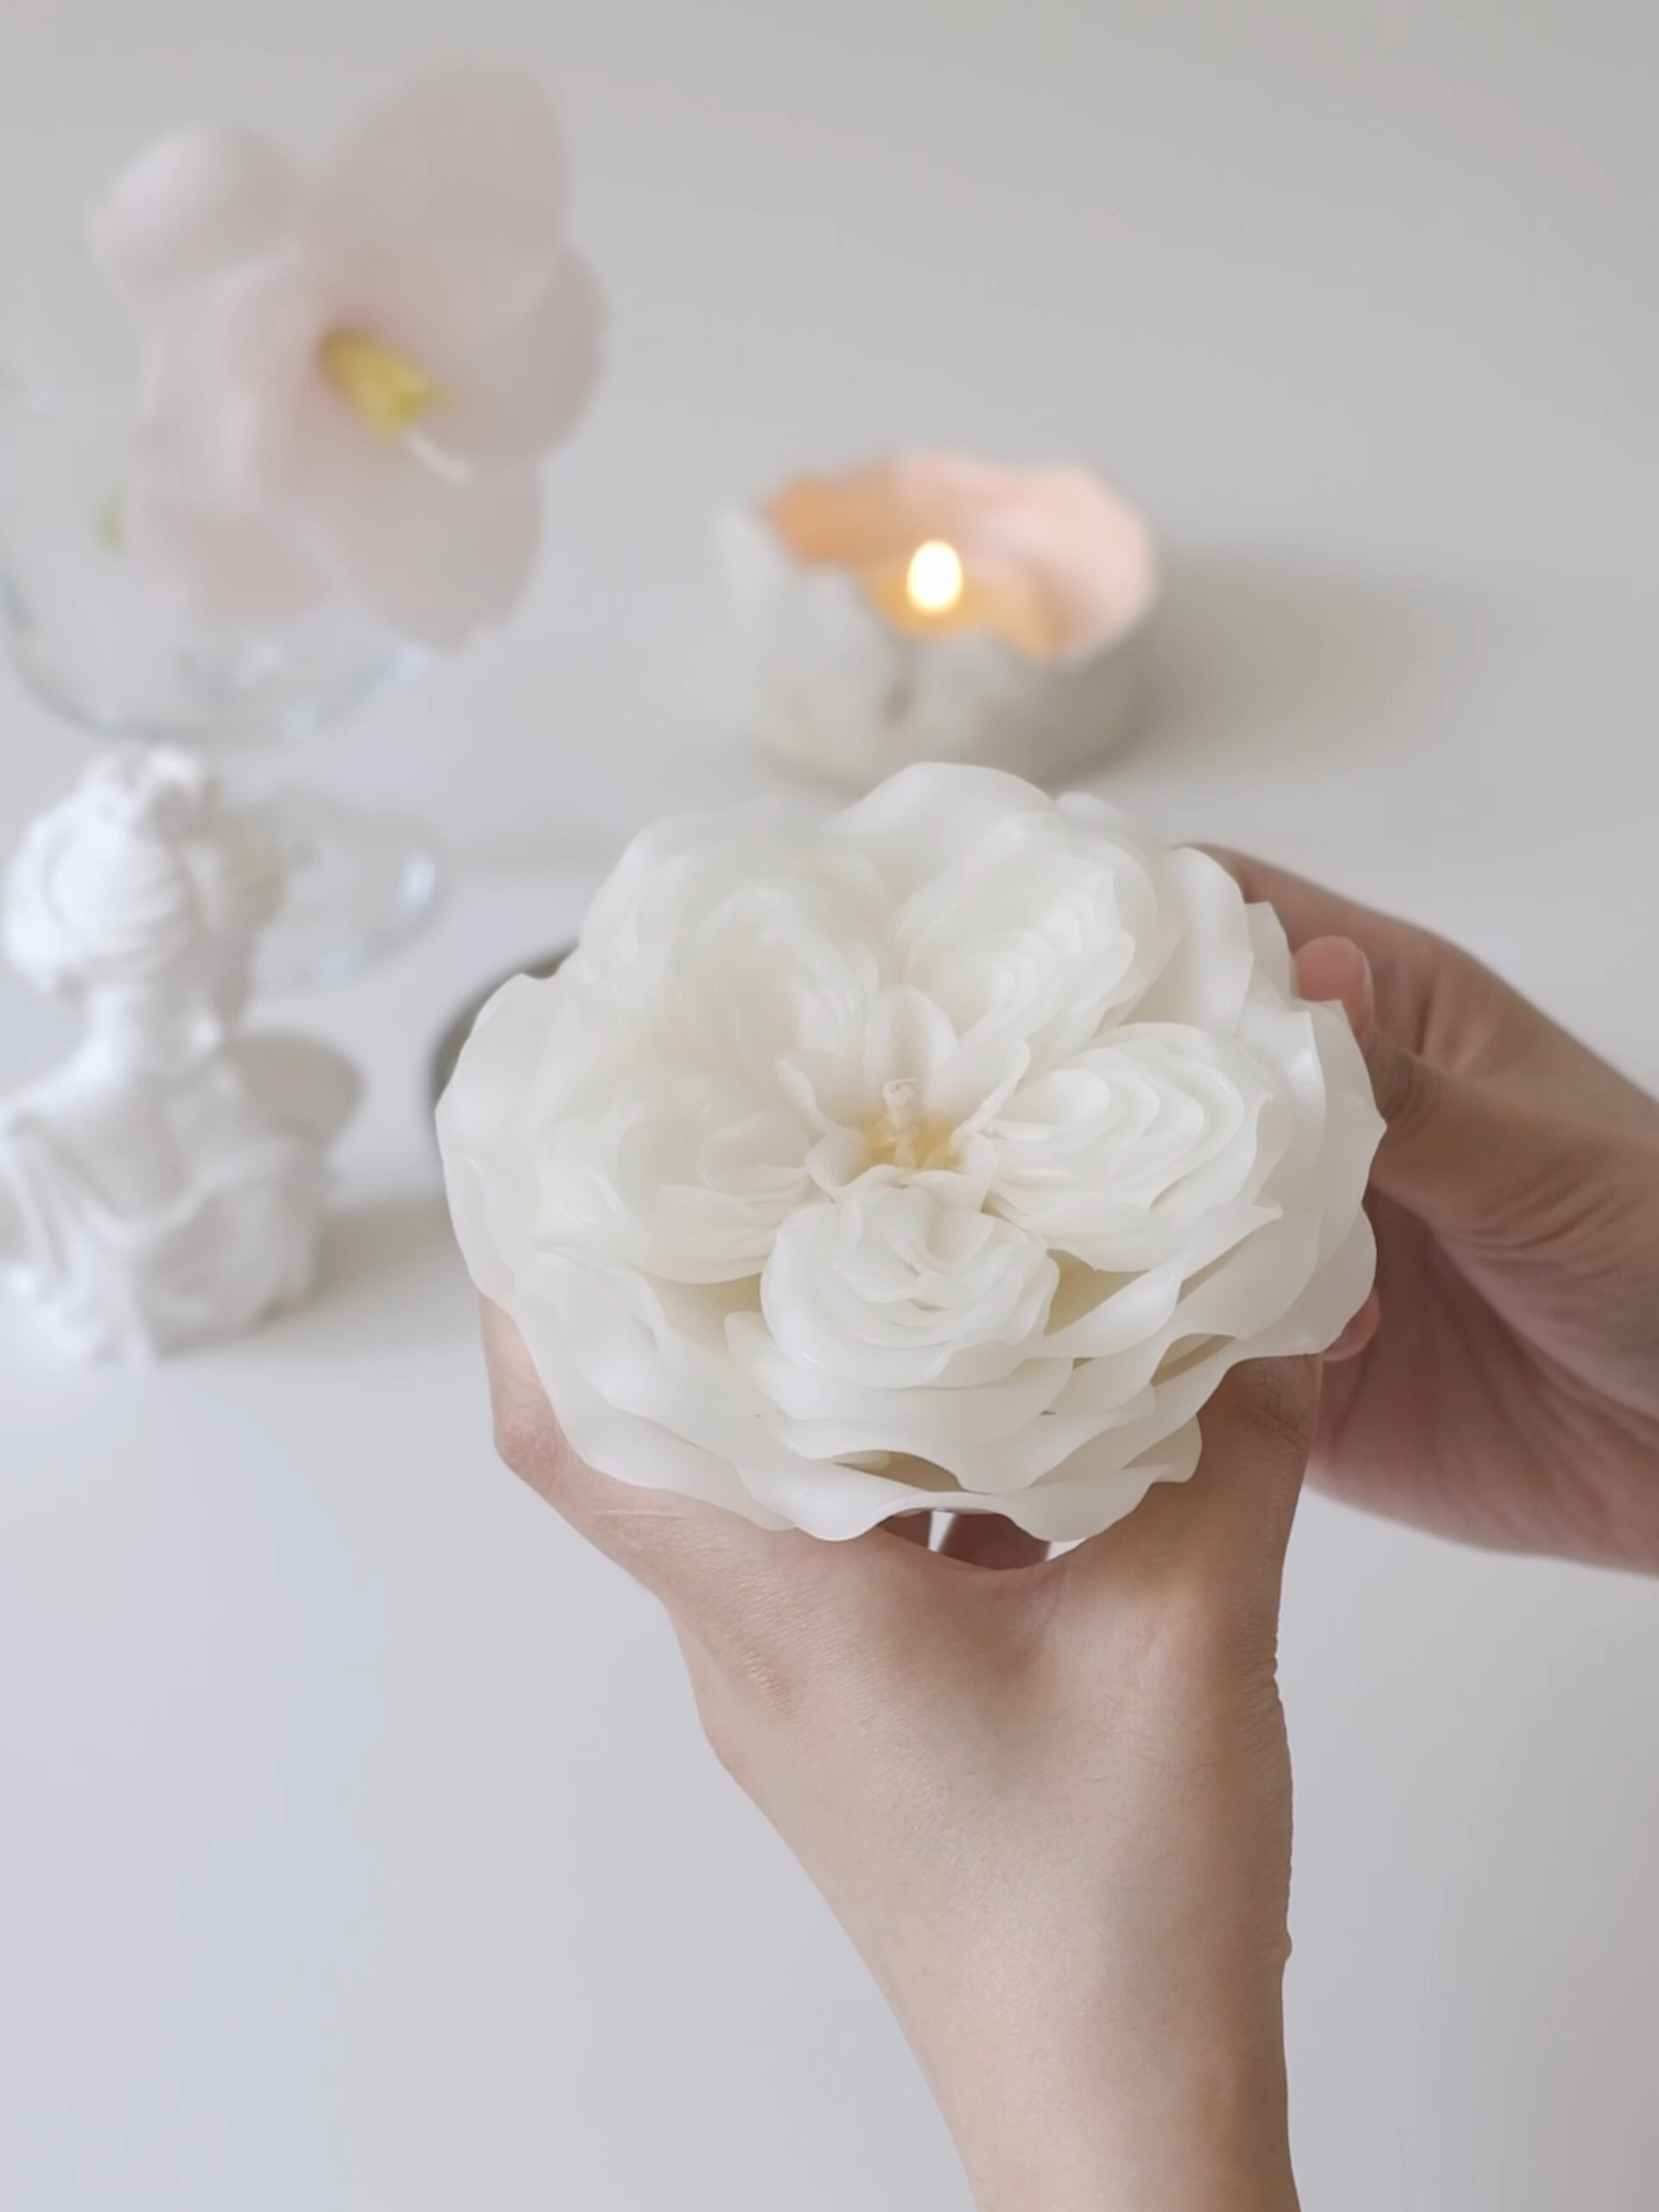
It is also a gift filled with deep meaning. The warmth and spirit imparted by fingertips are a kind of preciousness that mass-produced products can never replicate.
No blooming season, no maintenance required — love and tenderness stay unchanged forever.